Tuesday, September 18, 2012

Electrifying the Galley Woodstove


www.fatscostoves.com

I found one of these little cuties on eBay for around 50 bucks several years ago-- long before I ever thought I'd be in a position to build a boat. I bought it rather hopefully anyway. Lugging it to various apartments year after year as I finished college, I dreamed of the day I would warm my hands around its tiny crackling fire while moored in a Norwegian fjord. 

In January 2010, when I finally mustered the guts to get going on the boat project, I dragged it out of its box and found that it was completely encrusted in rust. The tiny door even broke off in my hand when I tried to open it. A major restoration was needed.
I decided that old-fashioned elbow grease and a wire brush were for the birds on this project. I was going to zap the rust off that thing. More technically, it is possible to electrolytically remove the rust by reducing the iron oxide Fe2O3 (aka red rust) to Fe3O4 (aka black rust), which detaches from the underlying iron and flakes off really easily. My brother Logan was visiting at the time, so we figured that if one of us got electrocuted, at least the other was there to make the drive to the county hospital. 

Basically, you get a trickle battery charger, attach the positive lead to a sacrificial anode and the negative lead to your rusted piece. This needs to be done in an electrolyte bath--- "Arm and Hammer All Natural Super Washing Soda" works best for this. Make SURE that the alligator clip attached to your anode doesn't get in the bath, because it'll rust the clip pretty badly.

This site describes the process in detail. 

The setup. Note the black clip is attached to the artifact to be cleaned and the red clip is attached to a sacrificial anode. The anode should be plain steel-- not galvanized, and definitely NOT STAINLESS as this will leach toxic chromium compounds into your electrolyte solution.

Note that the alligator clip on the sacrificial anode is up and out of the electrolyte solution. You don't want to sacrifice your clip, too.

The anode is getting pretty rusty at this point. It's a good idea to take the artifact out of the solution once in a while, rub it a bit with a Scotch Brite pad to get the black rust off and put it back in a different position than it was in before. You can see all the bubbles created as water is being broken down into hydrogen and oxygen gas.
After all of that my little Fatsco stove looked pretty good. I applied some stove polish and burned a little wood fire in it. I'll include photos of the finished 'restoration' when I receive the replacement door, latch, and hinges.
The little brother suggested we "capture the hydrogen and blow it up." I nixed that idea.


Wednesday, September 12, 2012

Lady Shipwrights


Several years ago, when I got it in my head to build a boat, women builders on the internet were hard to come by. There were a few, but most of what I found were media mentions of so-and-so building a boat and sailing away. I didn't get to read many first-hand accounts of the experience. Not so anymore! Here is a list of my favorite builds by women from across the internet:

First on the list is Bernadette who is maintaining a thread over at Woodenboat documenting her build. Everything about this build looks absolutely beautiful. See photos here: http://forum.woodenboat.com/showthread.php?125392-building-KATY-update/

Next is Julie who is building a Scamp. Her blog is a delight-- she's funny and takes great photographs. Note the awesome Venn diagram in the screenshot below. So true.


Next there's Lezlie who is just finishing up her build and is in the middle of selling everything she owns to move on to a boat I'm looking forward to reaching that stage!


The women over at The Big Sailboat Project have done an incredible job of documenting their ambitious build. They are now enjoying their dream on the water.


I found this book on Amazon a while back:


It was pretty fantastic. A decent synopsis can be found here.


Saturday, September 8, 2012

All Frames Standing!

Excitement at the boat shop today...

Here I'm tightening the last bolt on the last frame that needed to be installed!

Done! She's framed. Cold beer ensued.
Ramon sawing out those chine notches like a champ.

View from the "inside"

The little trailer looks like a superheroine with a big, flowy cape during the dust storm that followed the boat shop success. This photo was taken about an hour and a half before sunset.
Dust. This was taken about an hour before sunset.

And then, it rained. Hallelujah.

Thursday, September 6, 2012

10 Simple Steps to a Boat Frame

When I read other boat building blogs, I'm always a little embarrassed for myself. Other builders' shops are so clean, their joints so perfect, the tools shiny and brand-name. You won't find much of that over here on Building Luna. As mentioned earlier, I have a rather down home (see Urban Dictionary) boat building style. I still feel pretty unsophisticated in the world of boat builders.

On the bright side, I guess I don't allow myself to feel intimidated by all the builders doing stuff the "proper way." This isn't rocket science. Take, for example, the frame I built on Monday (the last one!!):
Step 1: This here is the frame building table-- just plywood underlay screwed to an IKEA platform bed frame that my mattress used to be on. The mattress has been on my bedroom floor for the duration of frame construction-- the likely cause of my many intimate encounters with insects over the past 6 months (see Giant Millipede Incident of 2012)


Step 2: Draw in the frames using measurements from the table of  offsets. Note roof tar, sawdust, and regular dirt dust. 
Step 3: Screw some blocks to the table at your frame lines to butt the frames up against. Most plans are drawn to the outside of the planking.  These blocks are the width of my planking so I don't have to worry about that detail while assembling the frame. 


Step 4: Get frame lumber. I milled the 2 x 4s needed for the frames out of this gorgeous 8/4 rough rift sawn white oak that I snagged for cheap in Austin. 

Step 5: Cut the frame lumber. The angles at the butts are easily taken from the lines drawn on the table. Note from the picture in Step 2 that the bevels on the frames are sawed before assembly. I took these angles from the lines plan. While they are probably "shallower" than what I'll need, it'll make beveling the standing frames less of a pain.

Step 6: Soak the joints that will not be glued with copper napthanate.

Step 7:  While I do make some effort to get the joints to fit nicely, It's not important to me to get them perfect where no one will see them. I smear them with roof tar.

The poor boat builder's dolphinite. $27 for a 5 gallon bucket.
Step 8: Smoosh the butt joints together and liberally apply a waterproof adhesive where the gusset will go.
Step 9: Temporarily screw on the gussets while the glue dries (the screws will later be replaced with bolts).
Step 10: Screw on some temporary cross-braces to make sure the frame maintains its  shape until the planking goes on. Done!

Actually, this probably wasn't the best frame to document here on the blog. Its construction was a bit atypical. Normally, gussets go on front and back side of the frame . Initially, they get clamped on and holes are drilled through the whole thing for bolts. Then everything gets diassembled, and glue is applied to the gussets. Finally, the whole thing is bolted together and cinched tight. Still pretty easy peasy.

The frame shown above is different from the norm because the floor at this particular station is high enough that it will serve as the gussett on the back side of the frame. I temporarily screwed on the front-side gusset until the frame gets clamped to the floor, then I'll drill for bolts when I know exactly where the floor will hit the frame.

Can't wait to add it to Luna's growing body!


After I finished building the last frame, I marked all of the frame gussets where the chine notches need to be cut with a handsaw.
I'm hoping to convince Ramon to make this job part of his daily workout.


It's nice to know that even the professionals sometimes make do with what they have.

Tuesday, September 4, 2012

Hello, Old Friend!


Yesterday I got out to the boat shop after over a month of  running around with the trailer, the new job, and starting graduate school full-time. Luna looked so sweet and lovely as I approached the shop. I climbed up on her keel, situated myself where her "cockpit" will be and lingered for a few moments imagining rolling waves instead of rolling hills. Then I got to work building the L-A-S-T frame! More on that tomorrow.

View from Luna's cockpit.
One thing I've learned about boat building is that the shop needs to be a pleasant place to work. This doesn't necessarily mean lots of expensive tools (I'm still a proponent of using the cheapest functional tools you can get), nor does it mean a climate controlled, deluxe barn. I guess to me it just means less exposure to the elements. The shed I work out of, while the price is right, has a dirt floor and only one wall to the North which makes exposure to all sorts of stuff inevitable.  

A project like this requires thousands of hours. Given this, it is generally best to limit the "excuses" one has to not go out to work during a few spare hours. Sometimes I find myself hesitating to go to the shop because it is 110 degrees outside, or the wind is really high and I don't want to cough and sputter in the heavy Texas dust. I am no delicate petunia, but sometimes that's just a bit too much. 

View of the shop floor.
While I have been less-than-organized all my life, this mess is not all my fault. Let me introduce you to the beautiful part of the USA I call home:


It isn't quite this bad.

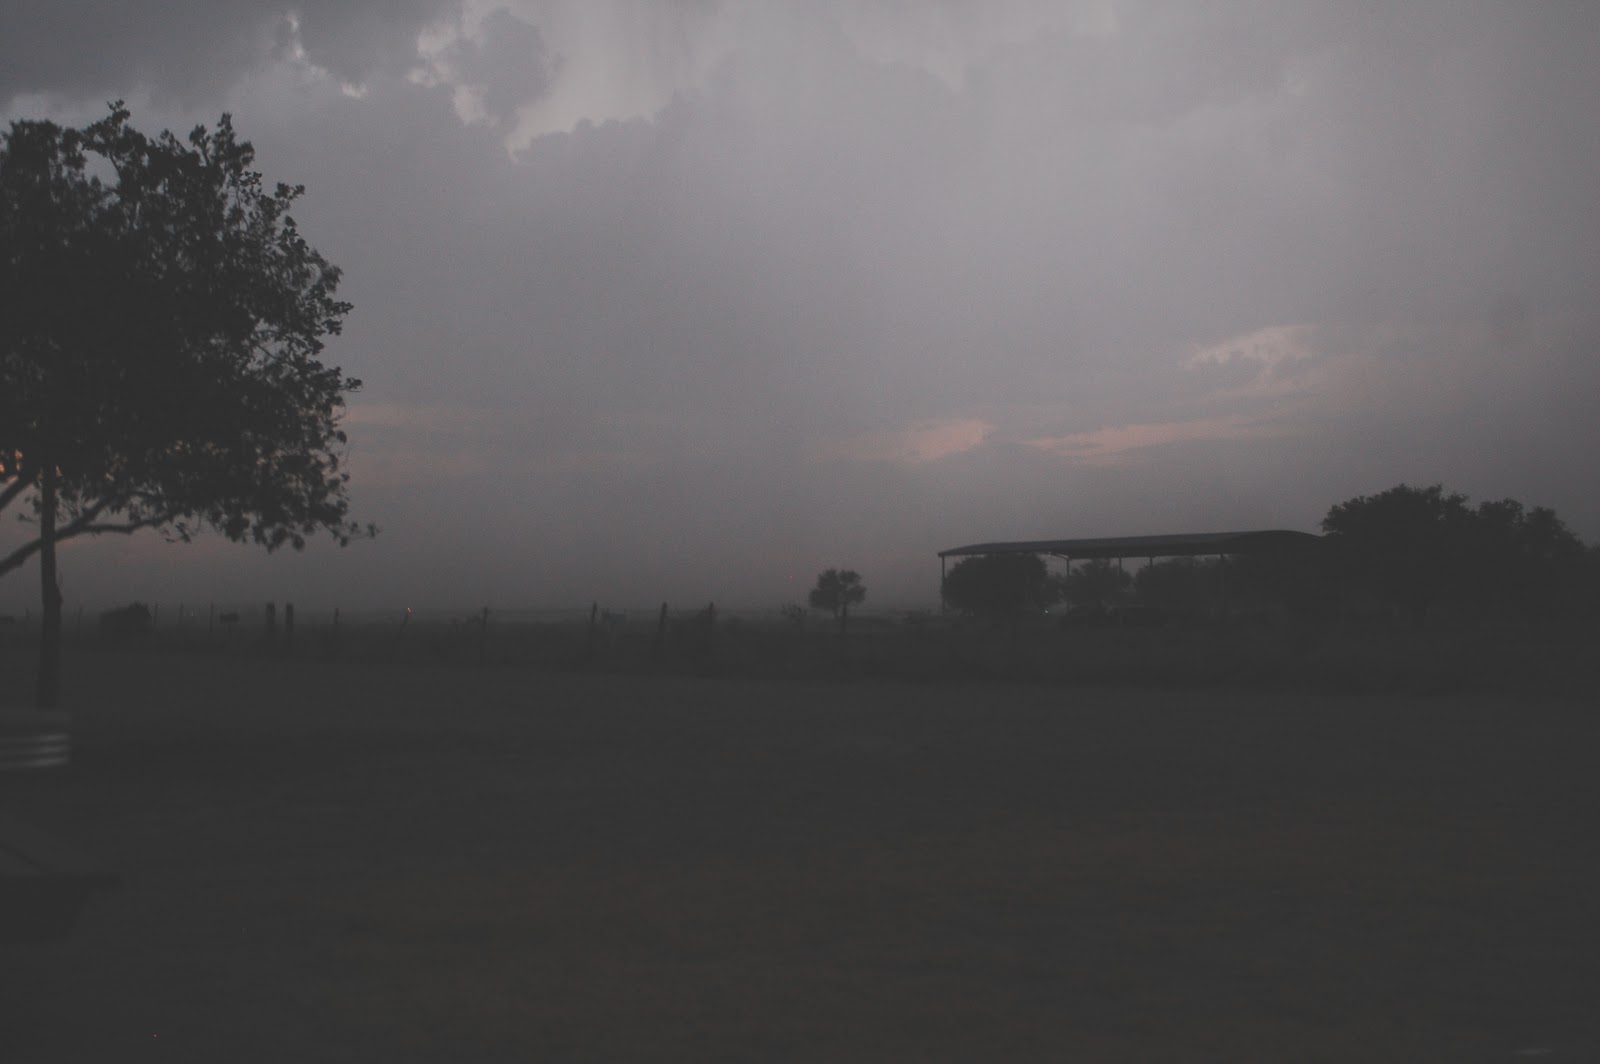
Actual view from the back of the shop.
When I moved here a couple of years ago, the ranch was lush and green:


The ranch in September, 2 years ago.

Then the drought hit and we haven't had much rain since. This, combined with the common practice of ranchers in my area desperately clearing the land of all vegetation on the false hope that it might rain (it never does), means it is pretty dusty here. 

While the ridiculous amount of dust might drive me to entertain apocalyptic thoughts, I can't imagine what it's like for the ranchers whose livelihoods depend on the rain. My heart breaks to see the hardworking couple who own the ranch I live on sit on the porch praying for rain as thunderheads roll in-- and then roll out-- without a drop of water hitting the ground. Here's to hoping the drought ends soon.

Boatbuilding in Hindsight
Boat shop requirements for The Next Boat:

1. no month's average temperature may exceed 100 degrees Fahrenheit 

2. the shop must have at least 5 sides (one of these must be a roof)